

Insertion
Axillary Insertion of Impella 5.5™ with SmartAssist™
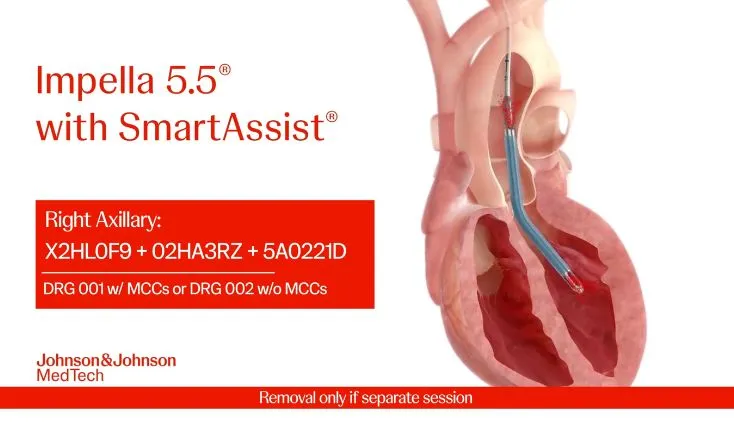
This animation depicts the primary steps for axillary insertion of the Impellas 5.5TM with SmartAssistTM heart pump. For more information, consult the instructions for use (IFU) or visit the education library.
Assess the axillary artery and attach the graft
- Once exposed, evaluate the size of the axillary artery. A 7 mm vessel is required for Impella 5.5 insertion.
- Use proximal and distal vessel loops or a vascular clamp to maintain hemostasis.
- Create an arteriotomy large enough to accommodate a 10 mm woven Dacron graft.
- Cut a 60 to 70 degree bevel on the graft to allow the device to transition smoothly into the vessel at a straight angle.
- Use a standard end-to-side anastomosis to suture the graft to the artery.
- Clamp the graft.
Prepare to insert the Impella 5.5TM with SmartAssistTM
- After assessing the integrity of the anastomosis, insert a 23 Fr axillary sheath.
- Use the included graft locks to secure the graft to the sheath.
- Advance a 0.035” standard J-wire with a diagnostic catheter through the ascending aorta and navigate past the aortic valve.
- Remove the 0.035” wire and replace with the provided 0.018” wire.
- Once the 0.018” wire is in the apex of the ventricle, remove the diagnostic catheter and clamp the graft above the anastomosis to eliminate bleeding.
- Insert the provided 8 Fr silicone dilator, passing it two to three times to lubricate the hemostatic valve.
Insert and position the Impella 5.5TM with SmartAssistTM
- Backload the Impella device and introduce the pump through the hemostatic valve of the sheath.
Once the motor housing is through the valve, release the clamp and continue to advance the catheter until it crosses the aortic valve.
Confirm placement with fluoroscopy and transesophageal echocardiography (TEE).
Position the cannula bend at the aortic valve with the mid-inlet positioned 5 cm below the aortic valve in the mid-ventricular space or along the septal wall.
Once the device is positioned, remove the guidewire and place a soft jawed vascular clamp at the graft anastomosis.
Secure the Impella 5.5TM with SmartAssistTM
Remove the graft locks and introducer sheath from the graft and peel away.
Trim the graft longitudinally to the level of the skin so there is no exposed graft. Utilize proximal vessel loops to control bleeding.
Advance the blue suture hub completely into the graft and secure it to the suture ribs with heavy silk tie.
Suture down the blue suture hub. Confirm that all slack has been removed. The catheter should be able to move freely.
Remove the yellow locking pin and confirm the catheter is secured and in position. To adjust the position of the catheter, press and hold the blue button and the catheter should move freely again.
If needed, maintain the blue suture hub angle with folded 4x4s before placing the sterile dressing.
Secure the Impella catheter near the insertion site with commercial catheter locks and secure both sides of the red Impella plug.
Patient management considerations
Do not clean the red Impella plug with alcohol or alcohol-based products.
The Impella 5.5 is designed for patient ambulation and longer duration of support.
Related Content


IMP-7588